
Users:
User is an individual who can access the platform and use its features and functionalities. users can be anyone like customers, employee, student who wants to interact with platform in serviceNow. Today we will learn how to create a users in serviceNow.
Step 1: Open your PDI(Personal Developer Instance) type Users in Application Navigator press enter.it will be showing users under System Administration click on users.
OR System Adminstration=>Users


Step 2: Click new button to create new user account and fill details user id and password must be necessary to fill.
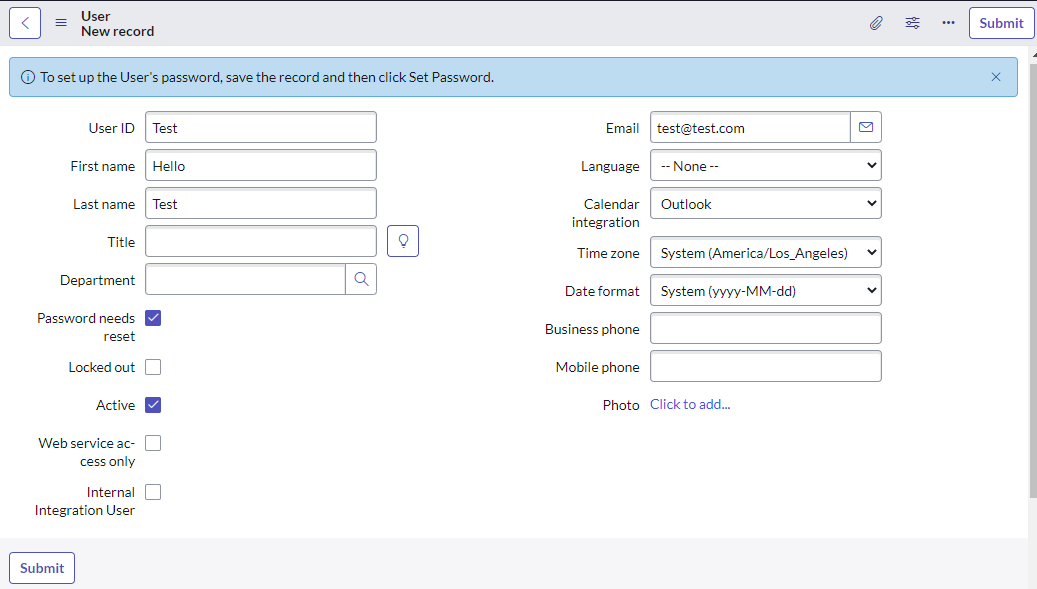
Password needs reset:
when you logginged first time it will be ask to reset your password.
Locked out:
if users tried wrong password multiple time or forget. then this account will be locked out.No one can access this account.
Active:
This user will be active.
Step 3: Click on save or update but my suggestion is save every form in serviceNow will discuss later what is difference between save and submit. after saving this form you will be seeing right corner set password click on set password button and set the password.

Step 4: Go to incognito window and paste this URL : https://dev113099.service-now.com/ you will seeing login page where will it be asking username and password. Previously we gave user id Test and password will be generated password copy that password and paste it on password section. click on login button first time it will asking to reset password. changed your password as new. after that you will be seeing you will logginged successfully.
Roles:
Roles are basically used to perform what actions a user can perform on platform. we can create our own role assign to the users, groups. they control access to specific applications, modules, and records within the platform. Here are the steps to create a role in ServiceNow.
Step 1: Go to ServiceNow Navigator search box type Roles you will find roles under User Administration click roles.
Or User Administration=> Roles

Step 3: Here are showing the list of roles. we can create our own roles by clicking new button.

Step 3: Enter a name for the role, and a description if desired.
Name : test(Role name)
Requires subscription : Unspecified
Description : Write description
Application : Global
Elevated privilege : Unchecked
Click : Save
 |
Groups:
Groups are the collection of users, which perform a similar task. we will see how to create a group.
Let's suppose that we two or more people are working on any application. then only two people will be access that application. we required more user for one application. so that we required group with the help of this group we can add members. and roles.
Step 1: Go to the application Navigator and type Groups. you will seeing groups under system administration.
System Administration => Groups.

Step 2: click on groups and create new group by clicking new button.

Step 4: we need to fill information on fields.
Name: Name of the Group
Manager : Give manager name
Group email : Create one group email id for all group.
Parent : Give parent name
Description : Give the description according to requirement.
Click : Save

Step 5: When you submit the form by clicking on context menu related list tab automatically came as shown in picture. we can add members in group member and add roles in role tab by clicking edit button.


Feel free to ask questions — we reply to every comment!.